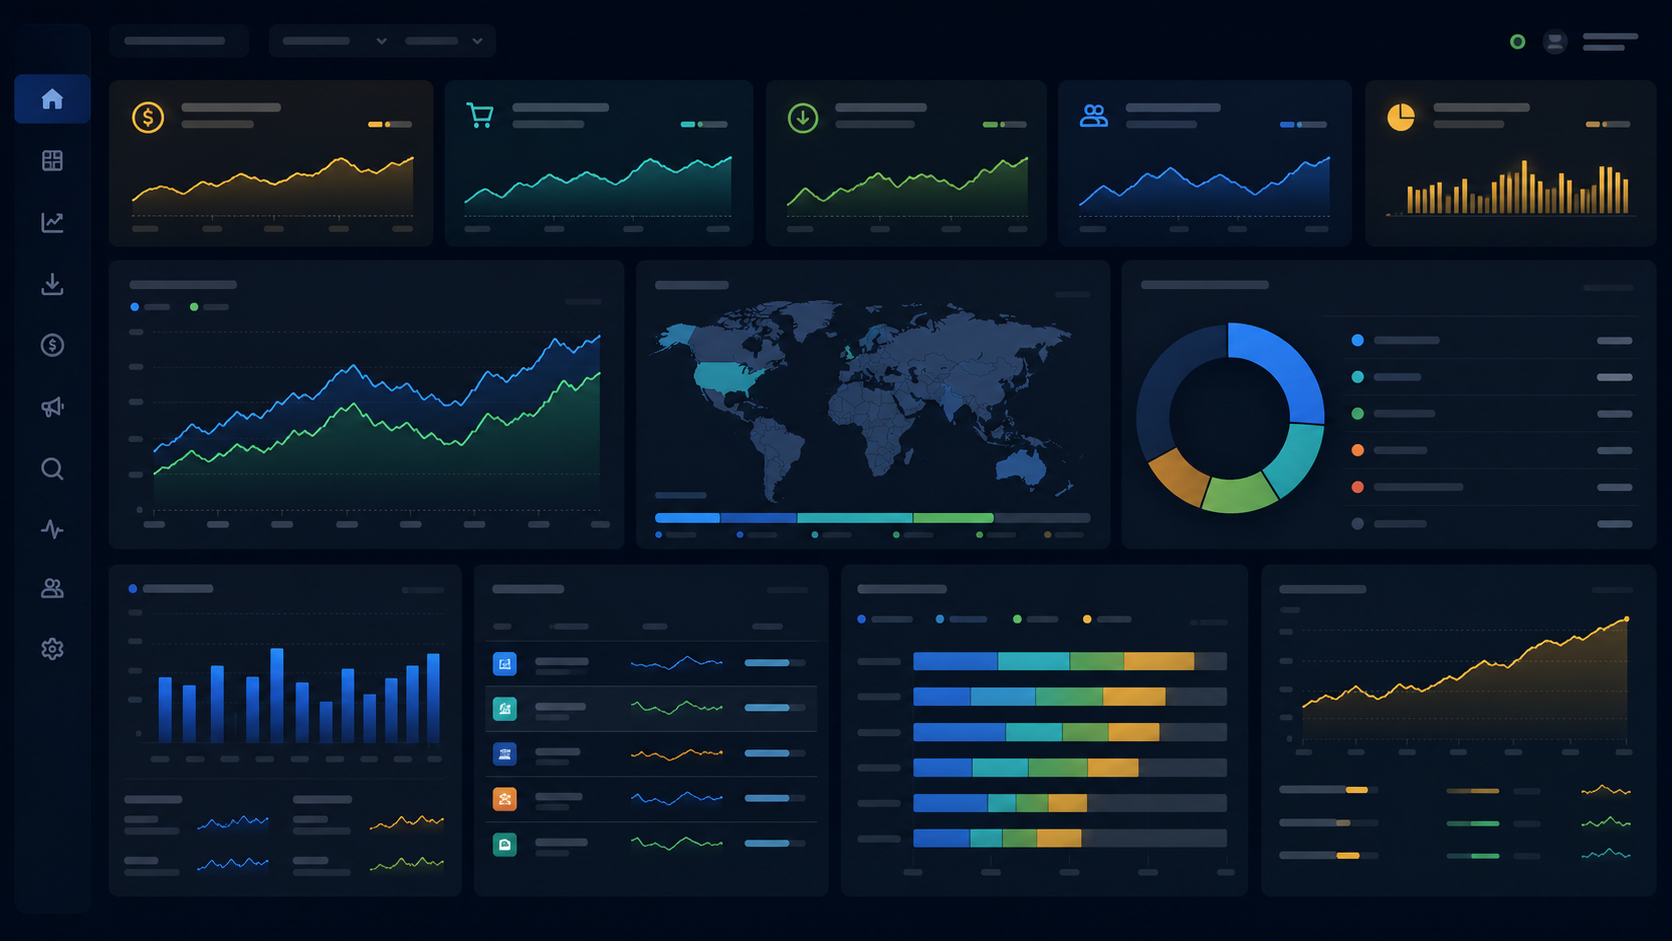
Getting Started with StudioDash
Contents
- 1. Start StudioDash
- 2. What You Need Before Setup
- 3. Choose the Services Relevant to Your Studio
- 4. Connect App Store Connect
- 5. Add Revenue and Analytics Services
- 6. Understand Credentials and Provider Access
- 7. Run Your First Update
- 8. Understand Provider Health
- 9. Explore Your Developer Dashboard
- 10. Explore Revenue, App and Website Analytics
- 11. Keep Supported Information Updated on Mac
- 12. Using StudioDash During Private Beta
- 13. If Something Does Not Look Right
1. Start StudioDash
When you first open StudioDash, begin by getting familiar with the dashboard and the available areas for apps, revenue, website information, reporting and integrations. You do not need to configure everything before the workspace becomes useful.
StudioDash brings information from your app portfolio, advertising revenue, analytics, websites and search performance into one developer workspace. Instead of checking multiple provider dashboards for the overall picture, you can use StudioDash as a central starting point and open individual provider services when specialist account management is required.
For Private Beta testing, take a little time to explore the starting view before connecting services. This makes it easier to see what each connection adds to your studio picture.
2. What You Need Before Setup
Start with StudioDash installed and access to the developer services you want to connect. You only need to configure providers that are relevant to your studio.
Some integrations require provider credentials, API access or identifiers before StudioDash can request information. The exact requirements depend on the provider and the permissions available to your account.
You can add services gradually, so there is no need to collect credentials for every supported integration before you begin.
3. Choose the Services Relevant to Your Studio
Connect only the services you genuinely use. StudioDash is designed to bring together the relevant parts of your workflow, not to require every available integration.
StudioDash supports integrations including App Store Connect, LevelPlay, Google Analytics, Cloudflare, Google Search Console and Google AdSense. The information each service contributes depends on your account, provider capabilities and the access it provides.
4. Connect App Store Connect
If you publish iPhone, iPad or Mac apps through Apple, App Store Connect is a useful first integration. It can provide StudioDash with information about your app portfolio, App Store performance, downloads, sales, app and release status, ratings and reviews, and supported revenue information.
Use an App Store Connect account you are authorised to access and review the connection status once setup is complete. The information StudioDash can retrieve depends on the permissions and data made available through your App Store Connect account.
StudioDash uses App Store Connect information for analytics and reporting, while account administration, app submissions, agreements and permissions remain managed through Apple's services.
5. Add Revenue and Analytics Services
Add other services when you want a wider view of your studio. Advertising and revenue integrations can help you understand supported income sources alongside your app portfolio, while analytics, website and search services add context about how people discover and use your products.
For example, LevelPlay can contribute supported advertising revenue information, Google Analytics can provide website or app analytics where configured, and Search Console can add information about your visibility in Google Search.
Each provider reports information in its own way and on its own timetable, so use StudioDash to bring the wider picture together while continuing to use provider dashboards for specialist account management.
6. Understand Credentials and Provider Access
StudioDash only needs credentials and permissions required by the integrations you choose to configure. Different providers use different authentication methods, API credentials and account identifiers.
Only grant the level of provider access required for the StudioDash features you intend to use. Provider account permissions and credential management remain under the control of the corresponding service.
If an integration cannot access the information it requires, StudioDash will identify the connection as needing setup or attention rather than assuming data is available.
7. Run Your First Update
Request an update after connecting a service. StudioDash asks the provider for the information available to your account and adds supported data to the relevant parts of your workspace.
The first update can take longer than a later check because there may be more information to collect. Some providers may also have no recent data to report, which is different from a failed connection.
Once information has been collected, StudioDash can use it across relevant dashboard, analytics, revenue and reporting views without requiring a new provider request every time you navigate between them.
8. Understand Provider Health
Provider Health helps you understand which integrations are working and which need attention. A healthy connection is ready to contribute information. An attention state usually means a connection or configuration needs reviewing, while a setup state means StudioDash still needs information required to connect.
A provider can be connected and still have no new data for the selected period. This is normal when the provider has not yet published anything new.
Check Provider Health before troubleshooting individual dashboard figures because it provides a quick indication of whether the underlying services are currently able to contribute data.
9. Explore Your Developer Dashboard
Once your first services have updated, return to the StudioDash Dashboard for an overview of your app portfolio, connected services and the information currently available.
Use the Dashboard as the starting point for understanding your studio, then open a more focused analytics or reporting area whenever a result needs closer attention.
10. Explore Revenue, App and Website Analytics
Use the dedicated StudioDash areas to understand different parts of your studio. Revenue Analytics focuses on supported income information, App Store Analytics covers your Apple portfolio, Reporting helps you compare periods, and Website & SEO Analytics covers supported website, analytics and search information.
Combining these sources can provide more context than looking at one provider alone. For example, app performance, advertising revenue and website discovery can be reviewed as related parts of the same studio rather than completely separate datasets.
11. Keep Supported Information Updated on Mac
On Mac, StudioDash can periodically update supported provider information in the background, helping keep your workspace ready when you return.
You can also request a manual update whenever you want StudioDash to check a provider for its latest available information. Provider reporting schedules still determine when new or revised information becomes available.
12. Using StudioDash During Private Beta
Private Beta testing helps validate StudioDash with different developer accounts, portfolios and combinations of services before wider availability.
If you are a Private Beta tester, use StudioDash with the services relevant to your normal development workflow and report unexpected behaviour, incorrect results or integration problems through the available beta feedback process.
13. If Something Does Not Look Right
Start by checking Provider Health, the latest update time and the reporting period you have selected. Provider data can be delayed or revised, so a result that looks unexpected is not always a StudioDash problem.
If a provider needs attention, check its connection and configuration before requesting another update. If the provider is healthy but the information still looks unexpected, compare the reporting period with the corresponding provider dashboard.